Running the Wizard
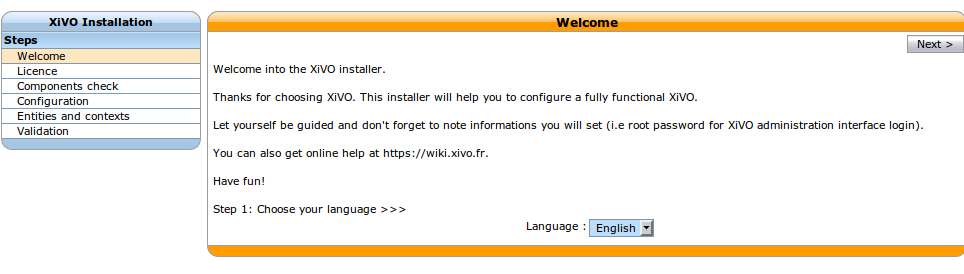
After the system installation, you must go through the wizard before being able to use your XiVO. Open your browser and enter your server’s IP address in the navigation bar. (For example: http://192.168.1.10)
License
You then have to accept the GPLv3 License under which XiVO is distributed.
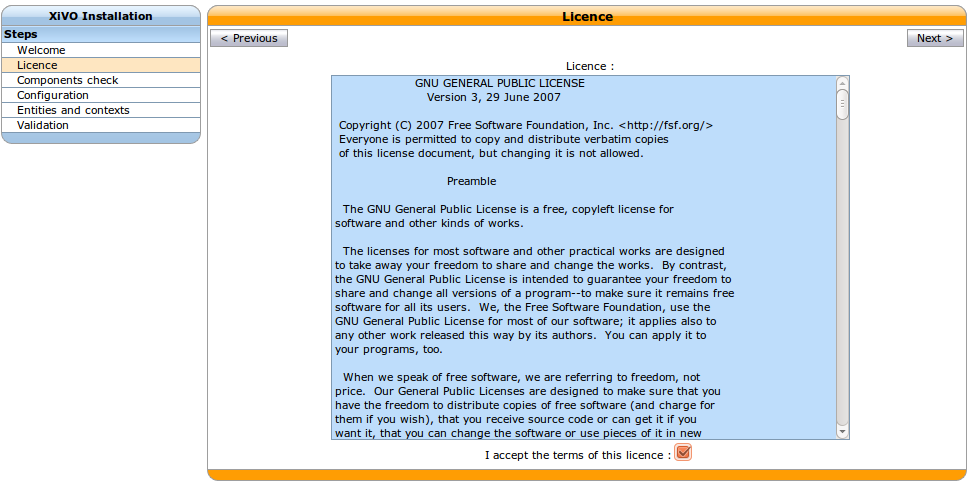
Accept the license
Configuration
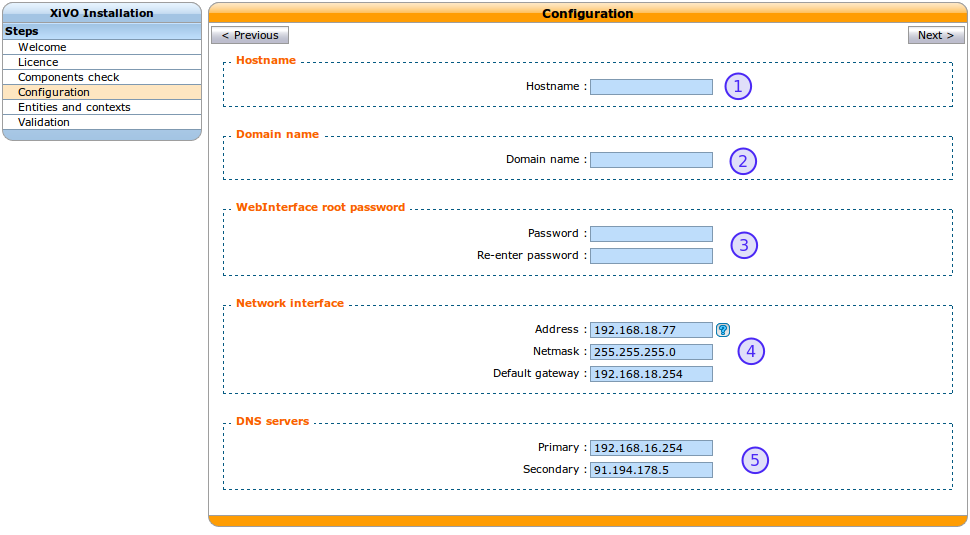
Basic configuration
Enter the hostname (Allowed characters are :
A-Z a-z 0-9 -)Enter the domain name (Allowed characters are :
A-Z a-z 0-9 - .)Enter the password for the
rootuser of the web interface,Configure the IP address and gateway used by your XiVO (by default it pre-fills the fields with the current IP and gateway of the network interface on which you are connected if the network interface has a default gateway).
Note
The network configuration will be applied at the end of the wizard
Finally, modify the DNS server information if needed.
Entities and Contexts
Contexts are used for managing various phone numbers that are used by your system.
- The Internal calls context manages extension numbers that can be reached internally
- The Incalls context manages calls coming from outside of your system
- The Outcalls context manages calls going from your system to the outside
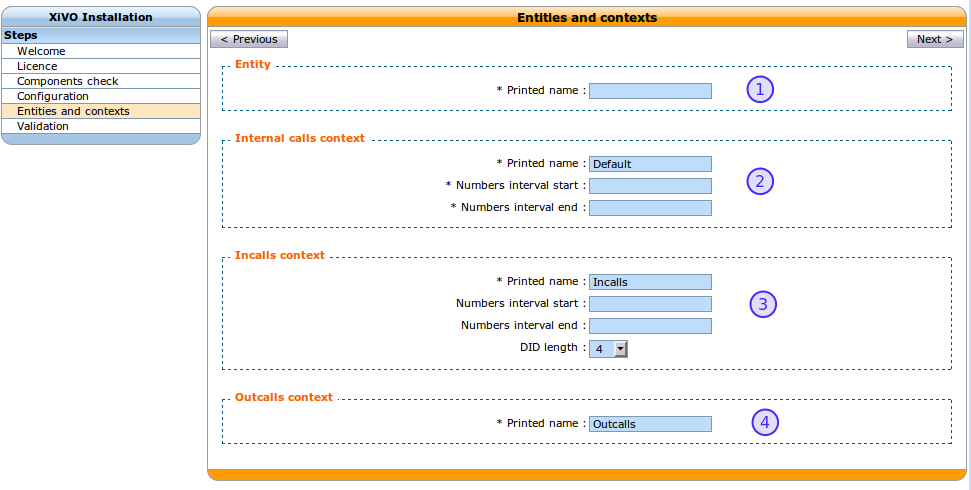
Entities and Contexts
- Enter the entity name (e.g. your organization name) (Allowed characters are :
A-Z a-z 0-9 - .) - Enter the number interval for you internal context. The interval will define the users’s phone numbers for your system (you can change it afterwards)
- Enter the DID range and DID length for your system.
- You may change the name of your outgoing calls context.
Validation
Finally, you can validate your configuration by clicking on the Validate button.
Note that if you want to change one of the settings you can go backwards in the wizard by clicking on the Previous button.
Warning
This is the last time the root password will be displayed. Take care to note it.
Congratulations, you now have a fully functional XiVO server.
You can subscribe to the xivo-announce list to always stay informed on the latest upgrades for XiVO.
To start configuring XiVO, see Getting Started.
